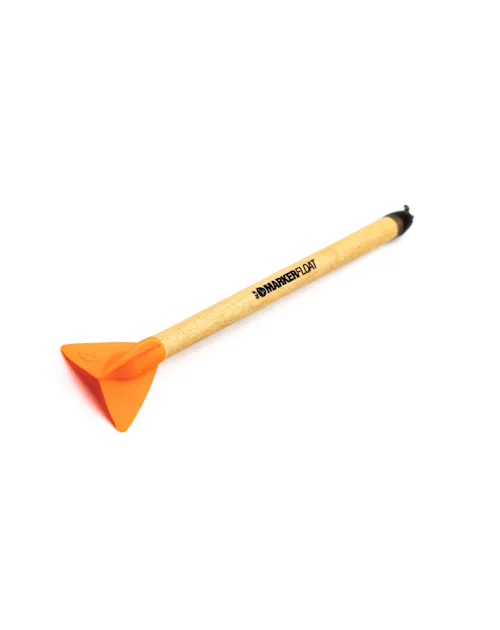
The Marker Float is a crucial tool for understanding your swim. By following some simple steps, you can accurately map out depths, substrates, and distances to fish with precision on specific spots.
A Marker Float is a fishing accessory used to map out underwater features such as depths, substrates, and fish-holding spots. It typically consists of a buoyant float attached to a line with a weight at the end, which is cast out into the water. Anglers use it to measure depths, find underwater structures, and accurately position their rigs for fishing.
1. Setup:
– Begin by assembling your marker float setup. This typically involves attaching the marker float to your mainline using a strong swivel. Make sure the connection is secure to withstand casting and retrieving.
2. Attach Weight:
– Next, attach a heavy weight to the end of the mainline, below the marker float. This weight will help the marker sink to the bottom quickly and stay in place while you map out the swim.
3. Casting:
– Cast the float out to the area you want to explore. Aim for the spot where you plan to fish or any area of interest you want to investigate further. Allow the marker float to land gently on the water’s surface.
4. Depth Measurement:
– Once the float is in position, release the line slowly until the weight touches the bottom. Note the depth by marking the mainline or counting the number of rod lengths between the rod tip and the float.
5. Retrieve:
– After measuring the depth, reel in the marker float setup. Be sure to retrieve it carefully to avoid snagging or tangling the line.
6. Repeat and Map Out:
– Repeat the process by casting the marker float to different spots within your swim. By doing this systematically, you can map out the varying depths, substrate types, and any underwater features like gravel bars, weed beds, or drop-offs.
7. Note Observations:
– As you retrieve the marker float each time, take note of any observations such as changes in depth, bottom composition, or presence of underwater vegetation. These details will help you build a comprehensive understanding of the swim.
8. Position Rigs:
– Once you’ve mapped out the swim, you can use the information gathered to position your fishing rigs accurately. Place your baited rigs on or near the spots where you’ve found promising features or fish activity.
9. Adjustment
– Throughout your fishing session, you may need to adjust the position of your rigs based on changing conditions or fish behavior. The marker float allows you to do this efficiently by providing reference points for your fishing spots.
10. Safety Precautions:
– Always ensure safety when using a marker float, especially when casting near other anglers or obstacles. Be mindful of the surroundings and avoid casting over other anglers’ lines.
By following these steps and using the marker float methodically, you can gain valuable insights into the underwater environment and improve your chances of success while fishing.
Get Floats now at Big Carp Tackle Store:

